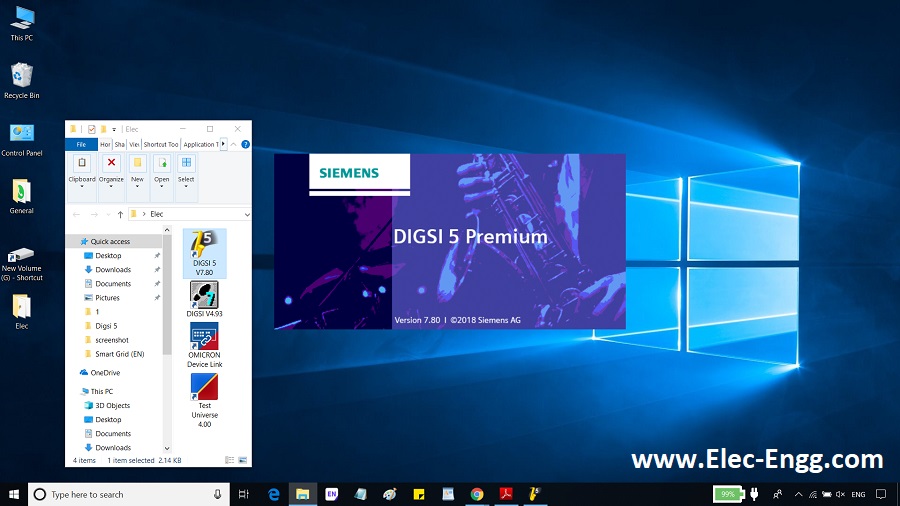
Click on the DIGSI 5 V7.80 icon to open DIGSI 5 Premium version 7.8 (If you do not have DIGSI 5 Premium V7.8, click here to download and install DIGSI 5 Premium V7.8 )
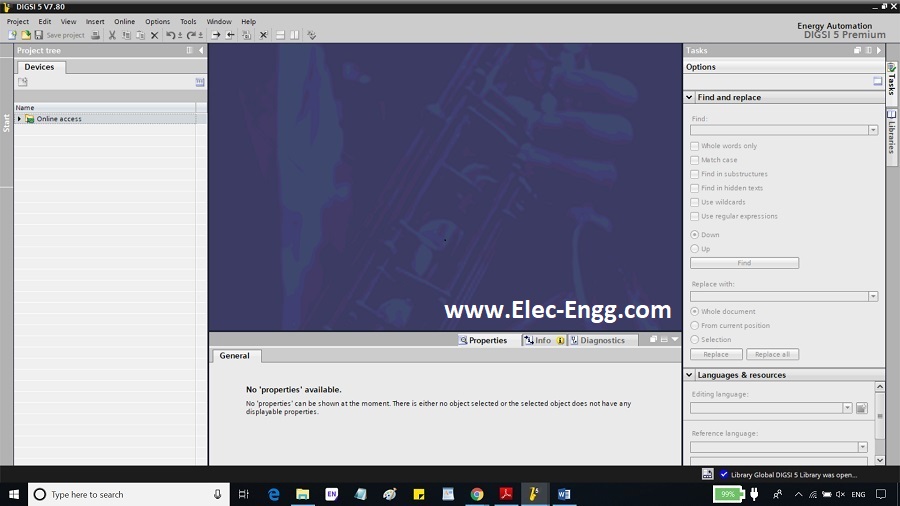
Creation of new project
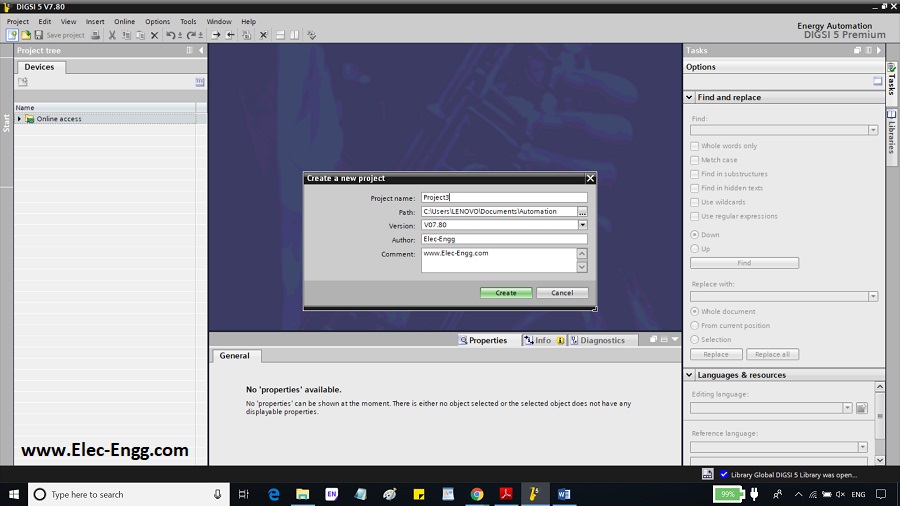
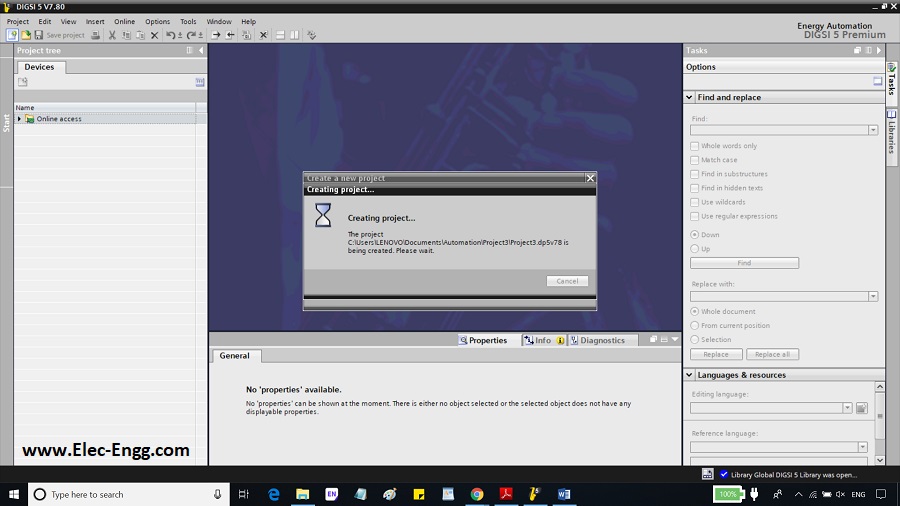
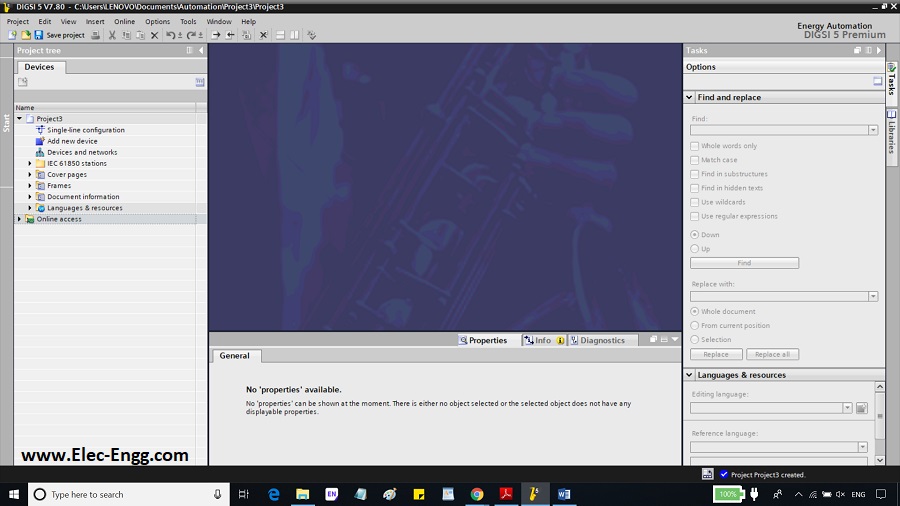
Click on the new project icon on the left side of the DIGSI 5 Software window. Enter a project name, path, author, and click on the created bottom.
Add a device
To add a device, the device driver should be installed in the DIGSI PC. This video shows how to import Device Driver into DIGSI 5.
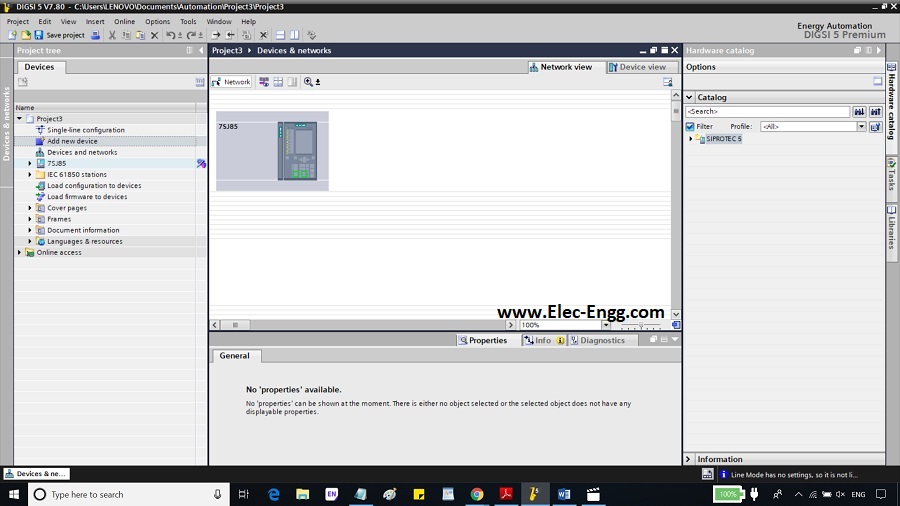
To add a device to your project, click on Add new device on the left side of the DIGSI 5 Software window.
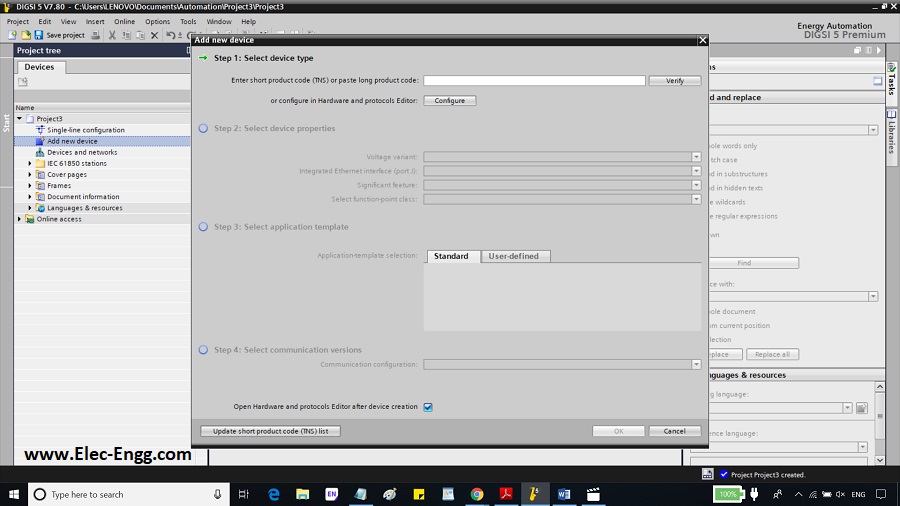
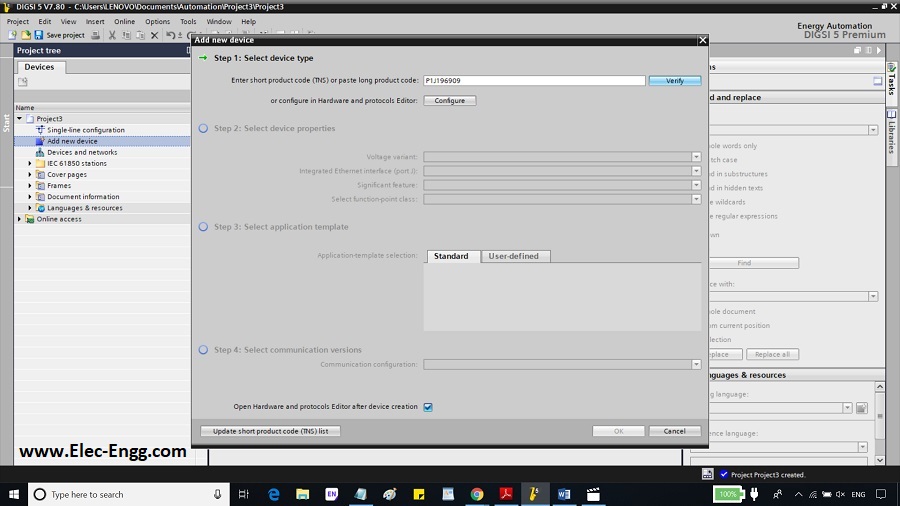
In the add new device window, enter short product code (TNS) or paste the long product code or configure in hardware and protocol editor and click verify ( P1J196909 as a shortcode for the SIPROTEC 5 relay in our project).
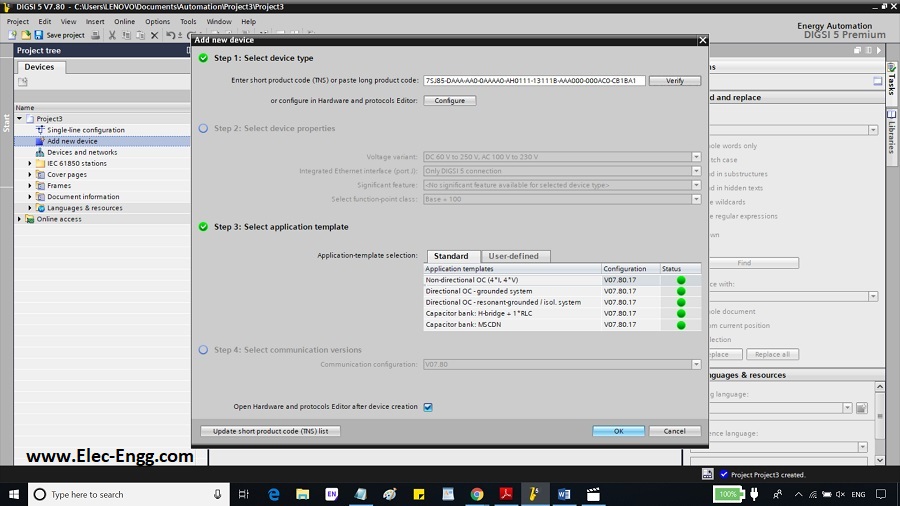
DIGSI 5 verifies the product code and will add the corresponding signals in the application template.
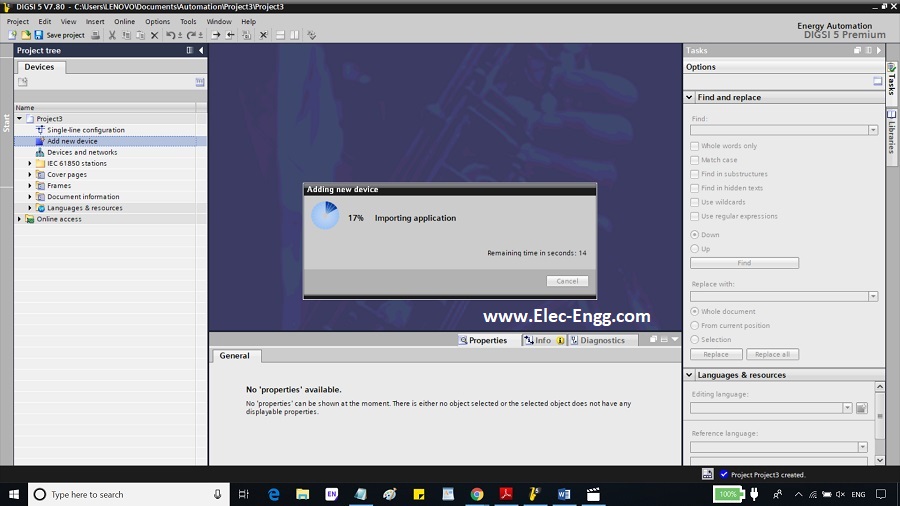
A new device would be added to the left side of the DIGSI 5 Software window (7SJ85 under the devices and networks)
Leave a comment on this post, we will keep you update on DIGSI5
Retrieving the backup from the SIPROTEC 5 relay
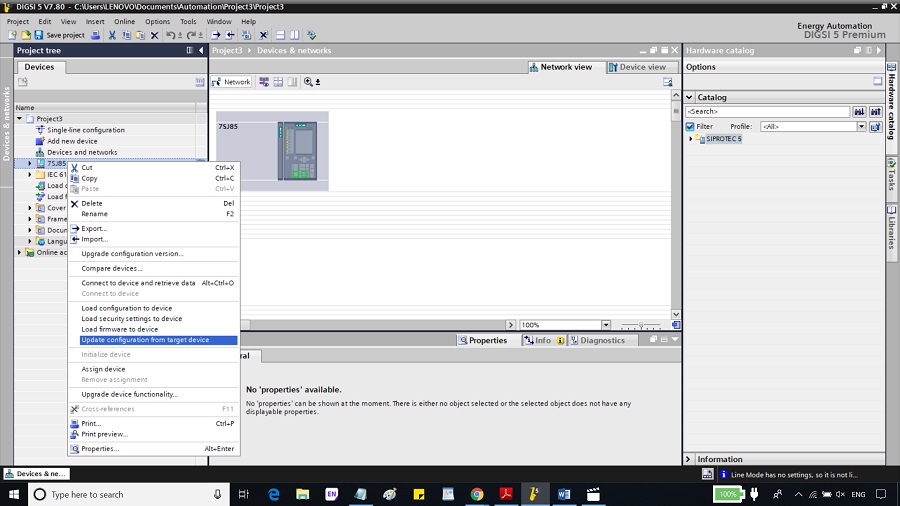
In the DIGSI 5 Software window, right-click on the added device and click on Update configuration for the target device.
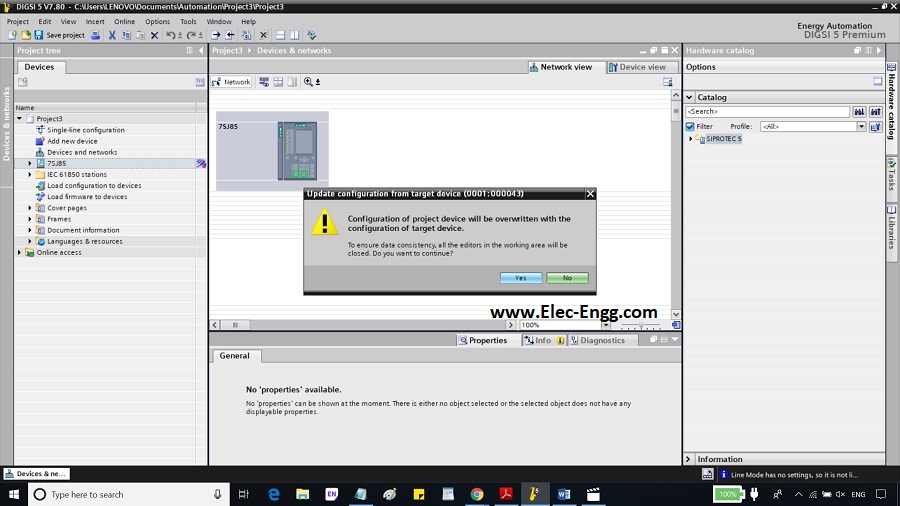
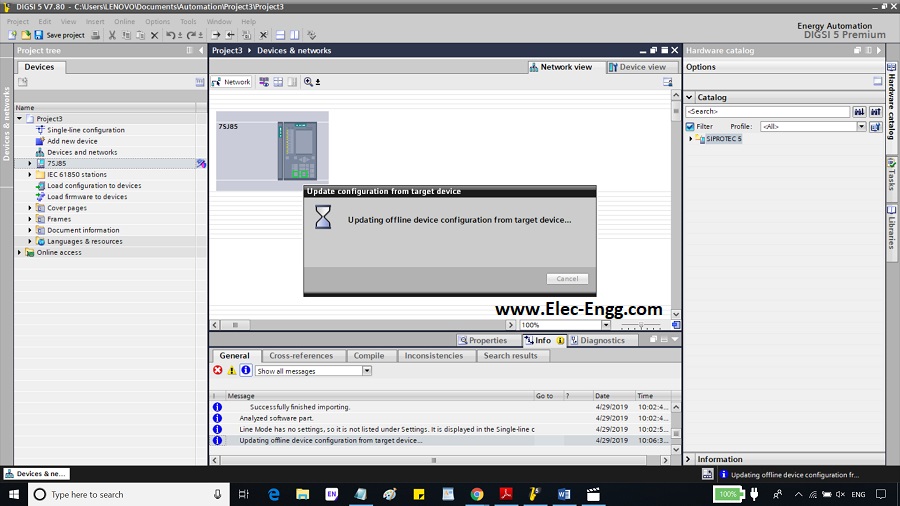
Click Yes, to update configuration from the target device
Deleting a device in the project
Right-click on the device and click delete to delete the device from the project.
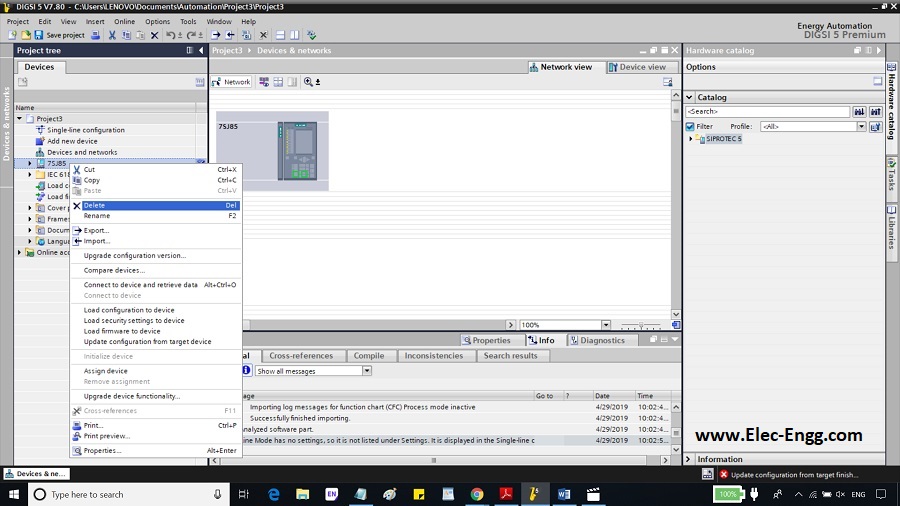
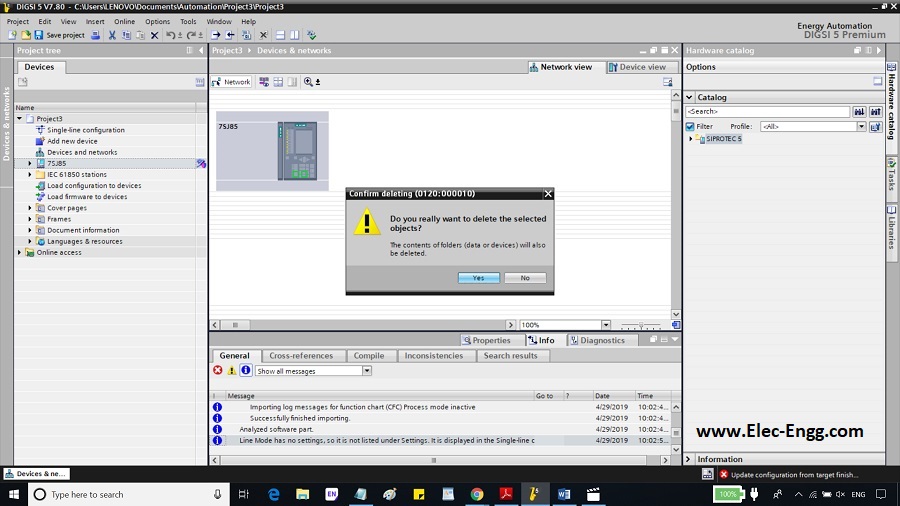
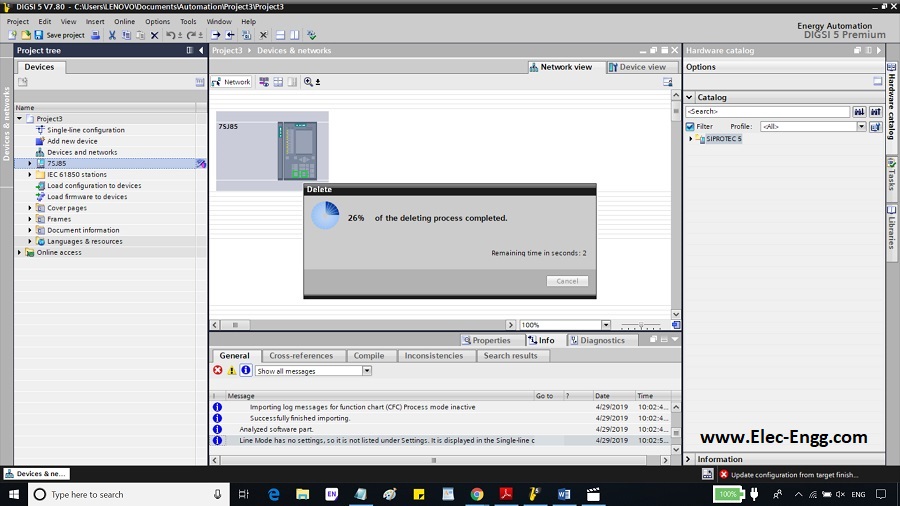
A window will appear to confirm deleting, click yes to confirm deletion of the device.
Leave a comment on this post, we will keep you update on DIGSI5
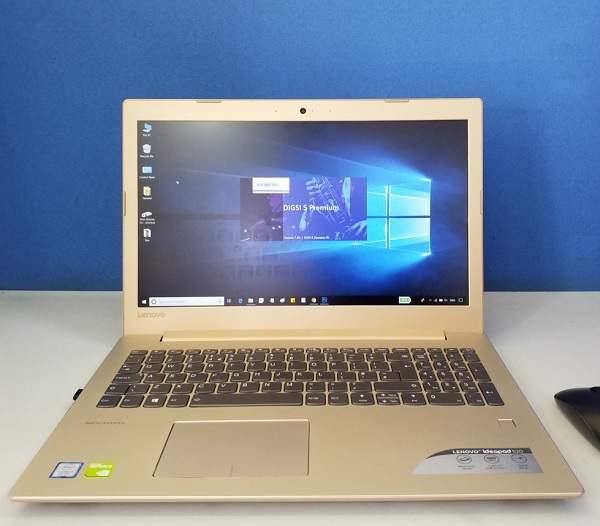
DIGSI 5 Training Pack


update me on DIGSI5 and SIPROTEC5
Ok Ahmed, we will send you email to be updated on DIGSI5 and SIPROTEC5 Relays
updates on DIGSI5 and Sip5
Thanks for your comment, sure we will send you updates on DIGSI5 and SIPROTEC5
update me on DIGSI and Siprotec relays, thanks
Thanks for your interest
Thanks, good effort
Thanks for your comment
Thanks, helpful
Thanks for your comment,
Please share to me update digsi 5 V7.50 or 7.80